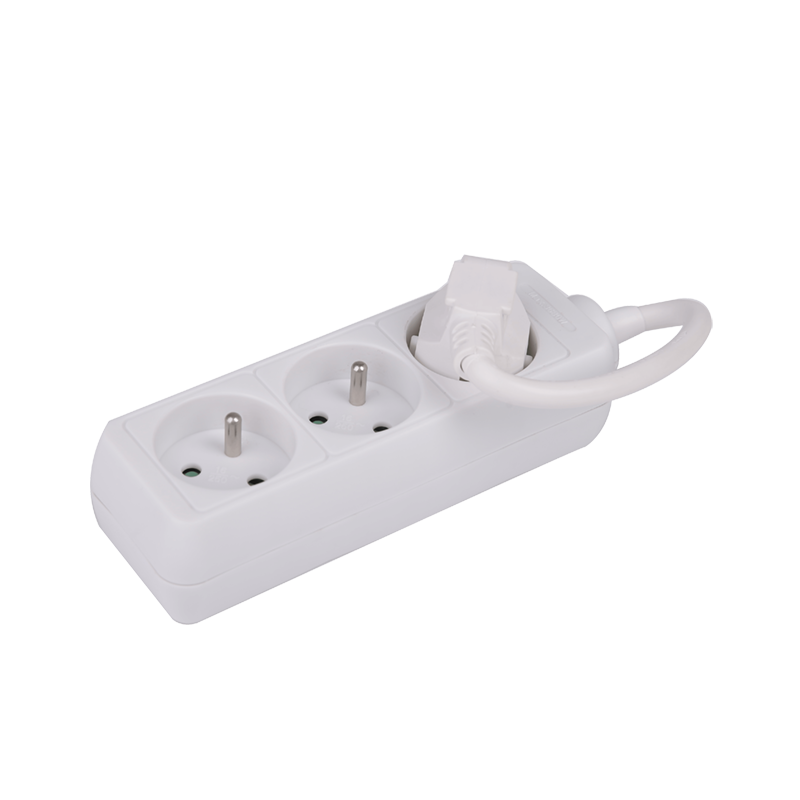
In daily life, if there are not enough power sockets in the room, most of us will choose the power strip to alleviate the power crisis. However, have you considered before the decoration that the wiring method of the socket is not correct, it will also lead to inconvenience in use. Today, let's follow the editor of the first-to-vertical socket design to discuss the method of plug-in wiring.
1. Steps of wiring the wiring board
1. There are two-pin and three-pin power plugs. If the power plug is two-plug, you can connect it at will, and the three-plug plug marked with "L" is connected to the live wire and the brown wire; the one marked with "N" is connected to the neutral wire and the blue wire. Between the neutral and the live wire is the ground wire, the green + yellow wire.
2. The three-hole socket is the same as the three-plug socket, and it is also marked. The "L" of the two holes is connected to the live wire and the red wire; the "N" is connected to the neutral wire and the brown wire.

3. The indicator light is connected to one foot for the lamp at the outlet of the switch, and one for the other foot of the lamp for the neutral wire.
4. Directly connect the neutral line of the incoming power cord to the N port on the front lower left of the power outlet, then connect the incoming live wire of the power cord to the switch, and connect the other port of the switch to the front lower right of the power outlet with a wire On the L port, the ground wire is connected to the E port above the middle of the three-hole socket. In this way, even when the air conditioner is not in use, the switch can be turned off directly, but the switch should be 16A.
2. Precautions for wiring and installation of plug-in wiring board
1. Cleaning the bottom box: Since the switch socket is usually installed after the woodworker, painter, etc., the bottom box will inevitably accumulate a lot of dust. Therefore, the bottom box of the switch and socket should be cleaned before installation, especially the dust in the box. Clean up impurities, and wipe the remaining dust in the box with a damp cloth. Doing so prevents special impurities from affecting the use of the circuit.
2. Connect the power cord: Leave the wire thrown out of the box to the maintenance length, and then cut out the wire core without hurting the wire core. Wind the wire clockwise around the corresponding terminal of the switch or socket, and then tighten the pressure head, so that the wire core must not be exposed. Generally, different products have different wiring methods. The most basic requirement is that the live wire (L), neutral wire (N) and ground wire (E) cannot be connected wrongly. When wiring, connect different wires to the corresponding switch socket holes, and then tighten the screws with a screwdriver.
3. Installation and fixation: After connecting the power cord, place the switch socket at the installation position, use a level to align it, and then fix it with screws. Finally, cover the decorative panel.

 English
 简体中文
简体中文 English


